About Us
Clubhouse
Our Location
Contact Us
Golf
Notices
General Information
Pro Shop
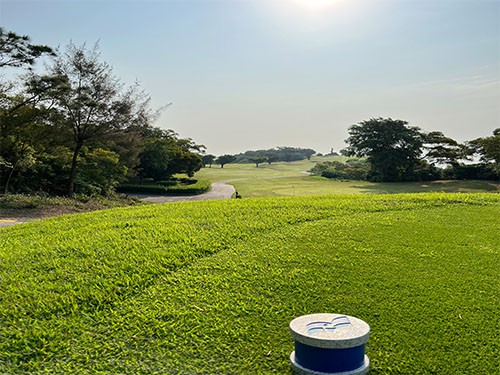
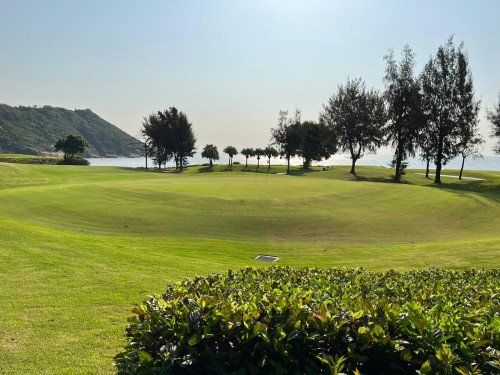
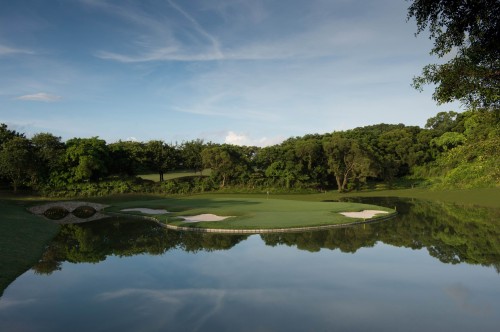
Course Tour
Driving Range
Golf Instruction
Corporate Golf Events
Tee Time Booking
Handicap Software Download
Dining
Golfer’s Grill & Member’s Bar
Sakura Japanese Restaurant
Promotions
Membership
Member's Updates
Stay in Touch
Reciprocal Clubs
E-Newsletter
Members Advisory Committee
Bonus Point System-Asia Miles
Gallery
繁
Oops. Almost hole in one. Come
here
and try again.
哎呀,差一點就一桿進洞了。快來
這裡
再試一試.
EN
Login